USERNAME 
For students, your username is your firstname dot lastname.
Example:  john.doe

PASSWORD
Your password is your last name (first letter capitalized) followed by the last four digits of your StudentID (not your SSN).
Example:  Doe1234
 
If you forget your username or password, you can use the  Forgot Username /  Reset Password link in MyHC for assistance.

Student Email accounts will be created within one business day following Registration

You can access Office applications through the web via the following steps:

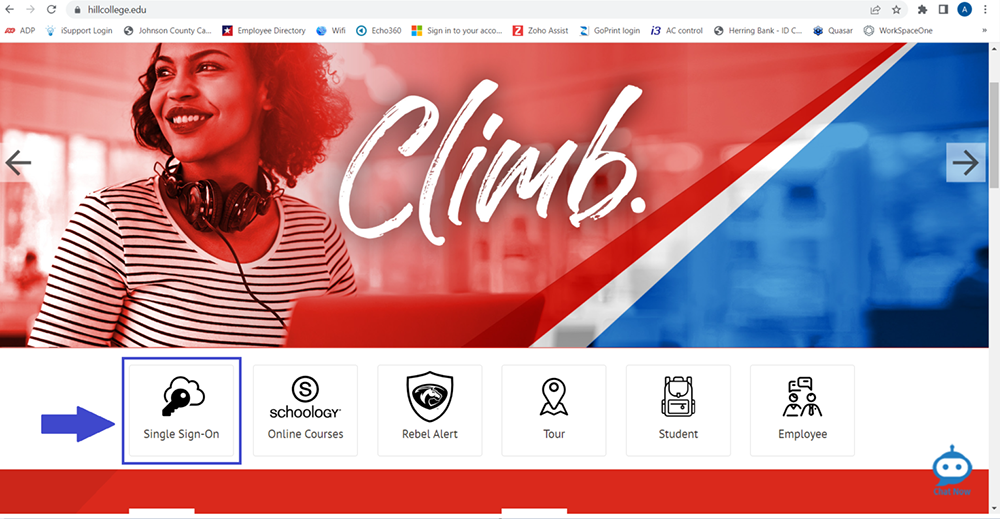
  1. Go to https://www.hillcollege.edu and scroll down to click on Single SignOn
    Single SignOn login button
  2. Login using your Hill College credentials and your preferred secure login method (if this is your first time you might be required to setup security questions)
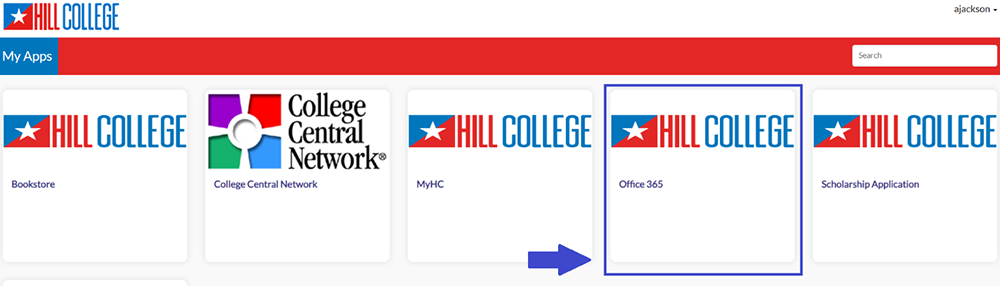
    Single SignOn login screen
  3. Select Office 365
    Office 365 tile
  4. Office ApplicationsSelect your Office application (left-side of screen), and you will be taken to the web version. If you prefer the desktop application, you can download this from the “Install apps” on the landing page.


    Install Outlook

To add Outlook to your phone please follow the below videos guide for Android or iOS:

iPhone Tutorial

Android Tutorial

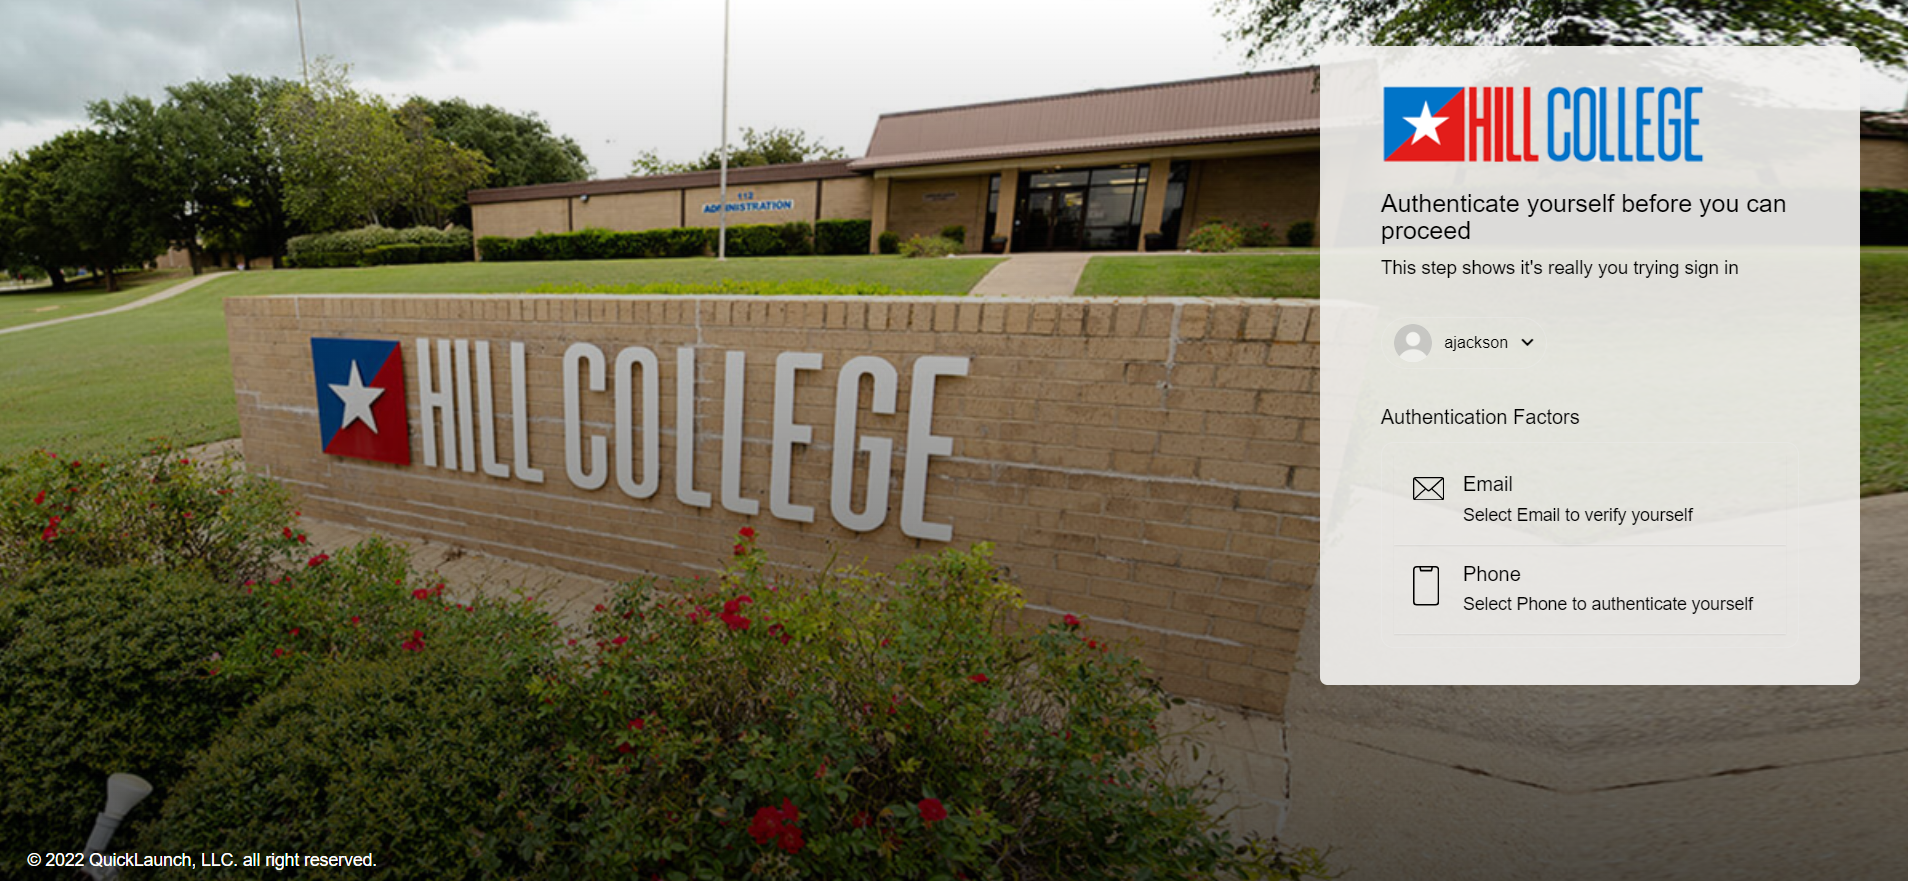
Login to Single Sign-on (https://sso.hillcollege.edu):
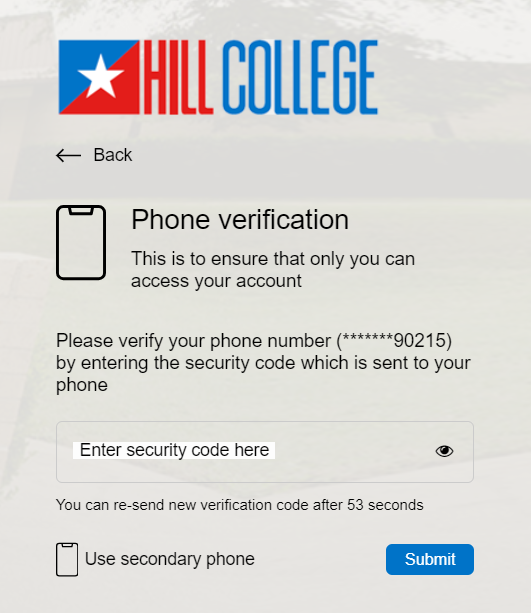
 SSO login screen

Provide your Username and you will be taken to a screen displaying your email and/or phone number. This will require you to get a code from either to proceed.

 SSO Authentication screen

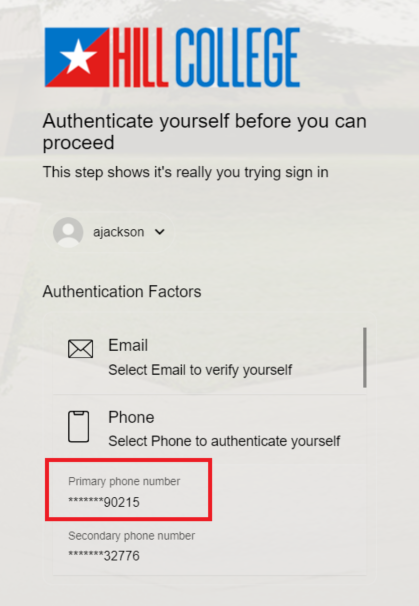
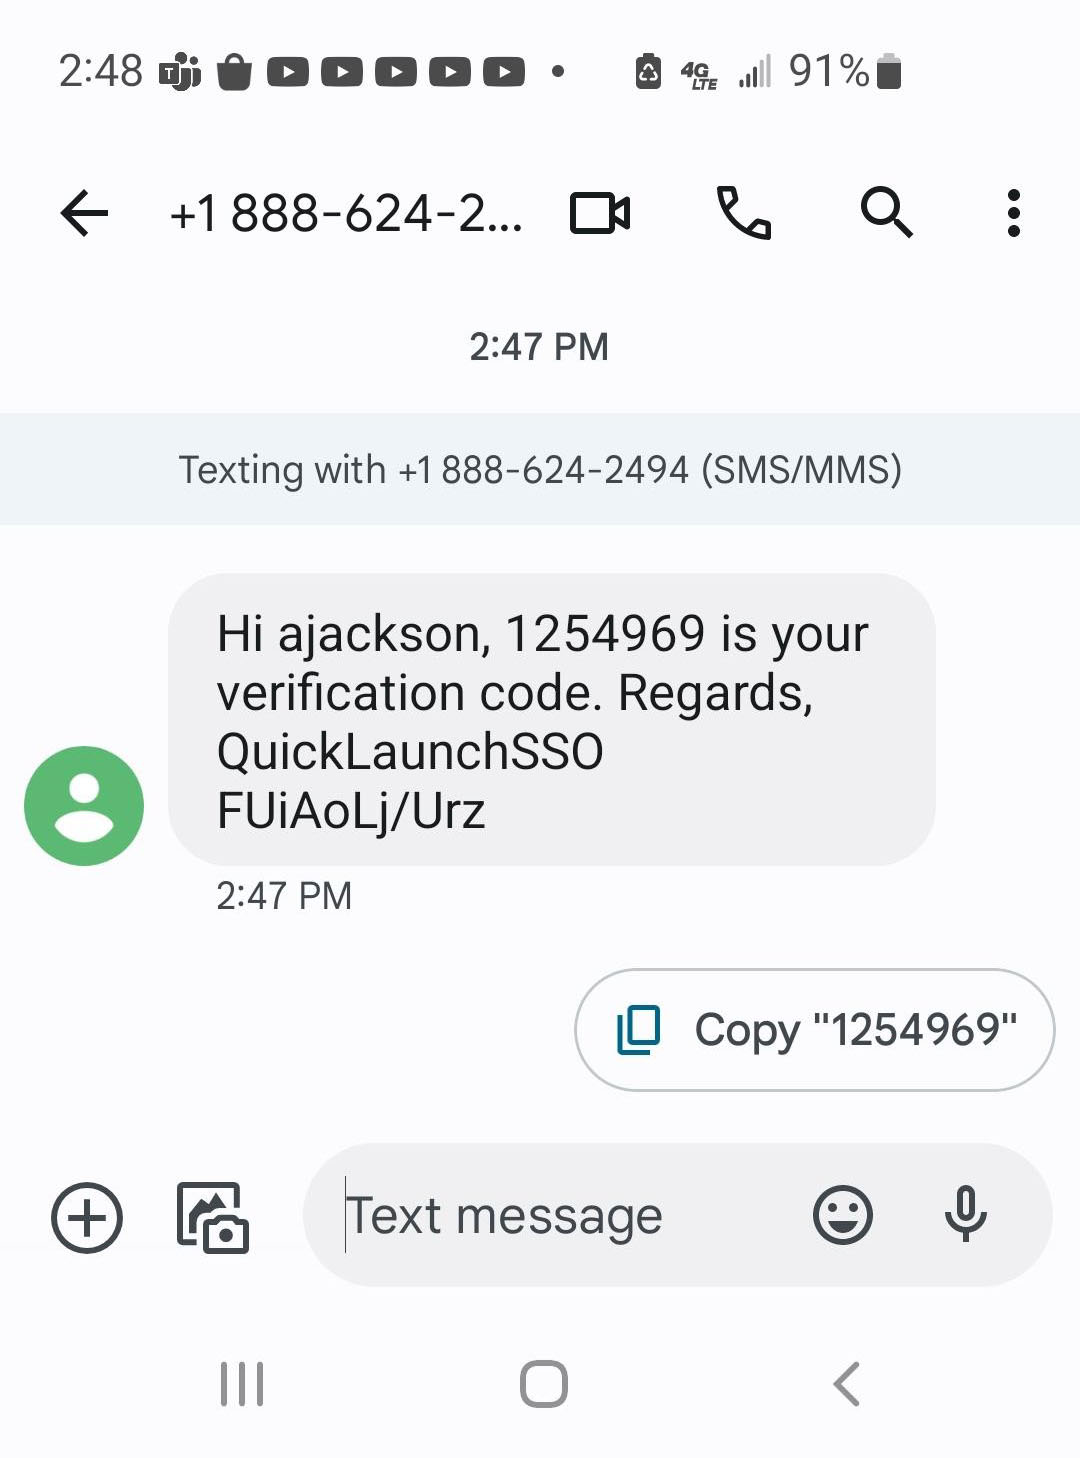
The following examples show the steps for utilizing the Primary Phone Number. You will receive a text message with the code for the next screen. You can also choose Email if you prefer that method:

 SSO Authentication detail

SSO text message

SSO Verification screen

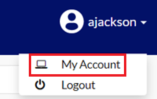
You will see a message Successfully Verified and you will be able to gain access to all your apps as normal. If you would like to add an extra email or phone number you can do so by selecting your profile name in the top right corner and select My Account:

 SSO My Account

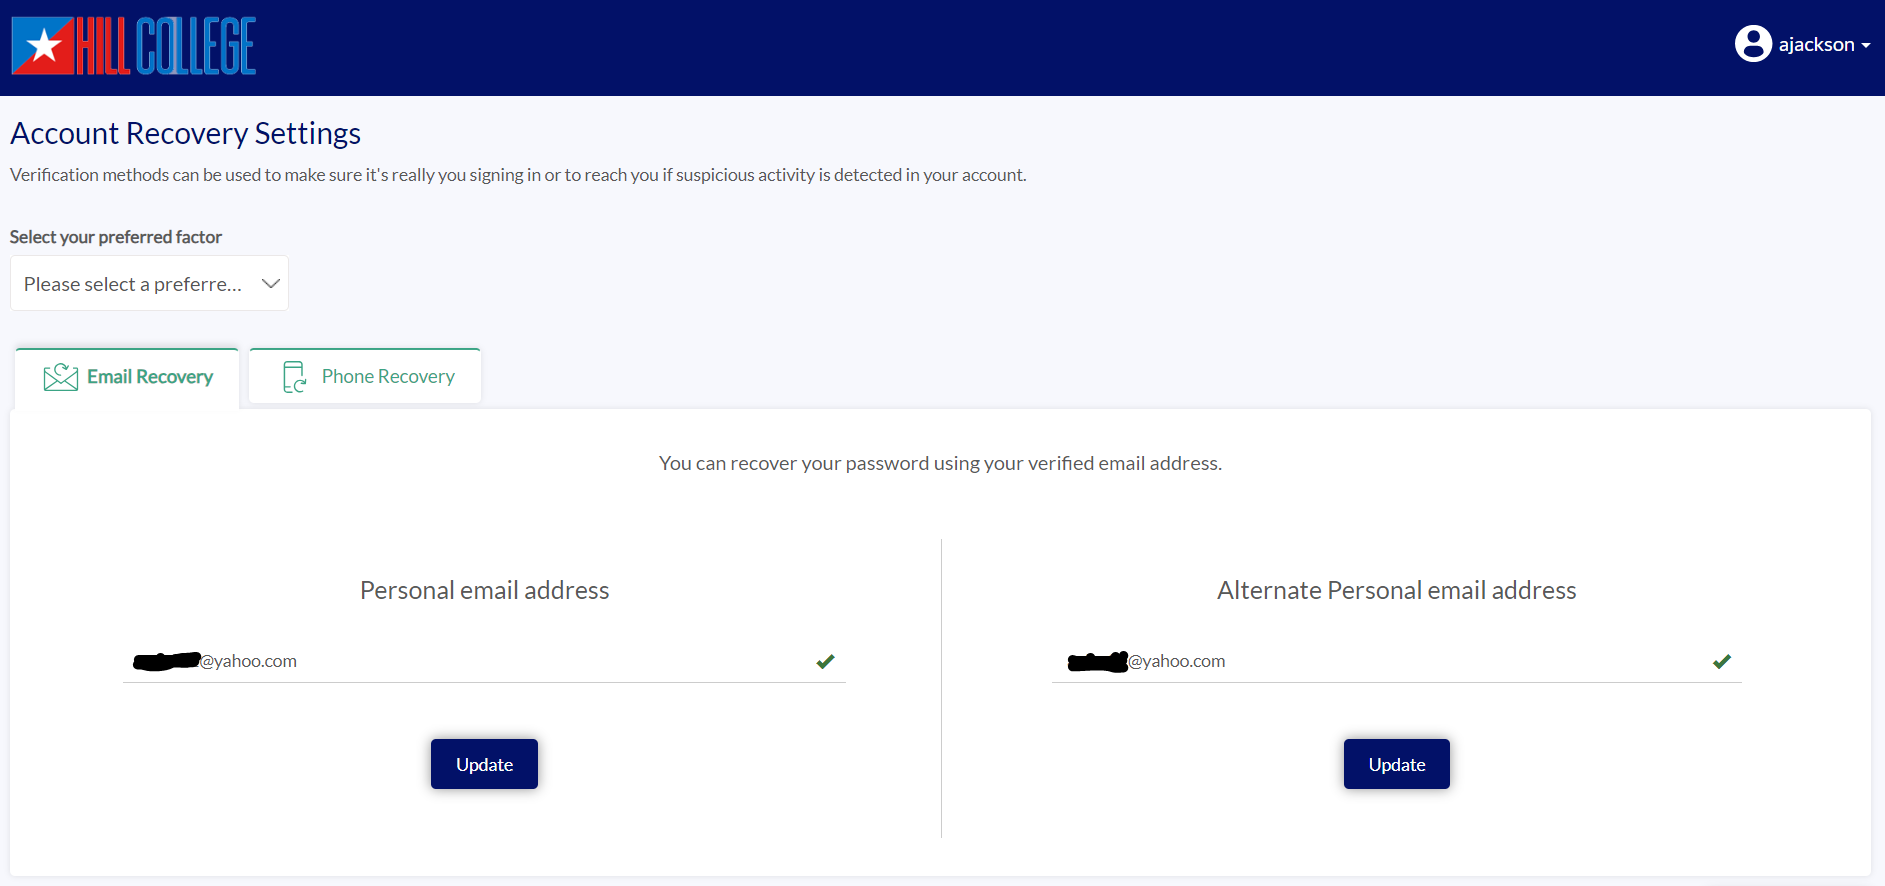
From here you can change details on your phone number or email as well as add a secondary one if so choose:

 SSO Account Recovery screen

If you have any questions or concerns regarding these changes please feel free to email askrebel@hillcollege.edu or call the Helpdesk at 254-659-7625.


What is my username?: Your username is your firstname.lastname up to a maximum of 20 characters including the dot and any punctuation in your name.

What is my password?: Your password is your Hill College email password: Lastname#### where the #s are the last four digits of your student ID.


Register a Wireless Device

To register your personal wireless device (smart TV or gaming device) on the Hill College wireless network please fill out the form below, including a picture of the MAC address and submit this information. You will receive a reply once the registration process is complete.

  1. Turn on your Playstation 4 without a disk in the drive and wait for the Menu.
  2. Navigate to the Settings icon (located on the far left).
  3. Select the System icon under the Settings menu.
  4. You will see your MAC address listed on this screen.
  5. Take a picture of the MAC address and upload it through the Upload Image selection below.
  6. Please allow up to 48 hours for activation.
  1. From the Playstation Home screen, select Settings in the upper right.
  2. Select System.
  3. Select System Software.
  4. Select Console Information.
  5. The MAC address will be listed by MAC Address (Wi-Fi).
  6. Take a picture of the MAC address and upload it through the Upload Image selection below.
  7. Please allow up to 48 hours for activation.
  1. Select Advanced Settings. Under Change Settings select Alternate MAC Address. Select Clear. Allow the console to restart when prompted.
  2. After console has restarted, press the Menu button on your controller.
  3. Navigate to the Settings page.
  4. Select Network.
  5. Select Advanced Settings.
  6. MAC address will be listed next to Wireless MAC on the right-hand side of the screen.
  7. Take a picture of the MAC address and upload it through the Upload Image selection below.
  8. Please allow up to 48 hours for activation.
  1. Select Settings
  2. Select Network Settings
  3. Select Configure Network
  4. Under Basic Settings check to make sure IP Settings is set to Automatic
  5. Go to Additional Settings
  6. Select Advanced Settings
  7. The MAC Addresses wireless address will be displayed here.
  8. Take a picture of the MAC address and upload it through the Upload Image selection below.
  9. Please allow up to 48 hours for activation.
  1. From the Fire TV or Fire TV Stick’s home screen, scroll down to Settings.
  2. Next, scroll to the right and select System.
  3. Next, Scroll down to and select About.
  4. Next, Scroll down to Network. Your Fire TV or Fire TV Stick’s MAC Address will be listed on the right.
  5. Take a picture of the MAC address and upload it through the Upload Image selection below.
  6. Please allow up to 48 hours for activation.
  1. From the Roku Stick’s home screen, scroll down to Settings.
  2. Next, scroll to the right and select Network.
  3. Next, Scroll down to and select About.
  4. Under Network Name towards the bottom is the Wireless MAC Address.
  5. Take a picture of the MAC address and upload it through the Upload Image selection below.
  6. Please allow up to 48 hours for activation.
  1. Go to the Main Menu on your Apple TV, and select Settings
  2. In the Settings Menu, select About or Network
  3. Here you can find your MAC Address listed as the Wireless ID
  4. Take a picture of the MAC address and upload it through the Upload Image selection below.
  5. Please allow up to 48 hours for activation.
  1. Connect to the Internet menu
  2. Setup new wireless connection
  3. Highlighting either Scan again or Scan again to see all networks options displays an informational panel with the wireless Mac address of your Roku TV
  4. Take a picture of the MAC address and upload it through the Upload Image selection below.
  5. Please allow up to 48 hours for activation.